Master the fastest EVE Echoes nullsec farm route for solo ISK. Loop quiet pipe pockets, dodge gate camps, and stack massive anomaly bounties in 2026.
Roaming aimlessly through deep nullsec is the fastest way to lose a faction cruiser. If you jump blind through populated regional choke points, an interdiction bubble will catch you before you ever lock an anomaly rat. Solo pilots do not make steady billions by roaming broad constellations. You make it by locking down a closed, predictable loop.
Running an efficient eve echoes nullsec farm route requires a deliberate circuit through dead-end pipe systems. By isolating PvE operations to a two- or three-system pocket, you cut out roaming gate camps, stabilize anomaly respawns, and optimize hourly income. Keeping combat hulls fitted and replacing inevitable hull losses demands a disciplined route, not blind jumping.
Anatomy of the Nullsec Pocket Loop
Not all nullsec systems yield identical returns. Dropping into any quiet -0.1 to -1.0 system and clearing whatever is on grid is inefficient. Without sovereignty upgrades, unheld dead-ends only stack anomalies if traffic has ignored the system for days; once cleared, sites take hours to restock. Upgraded sovereign systems with high military indexes regenerate signatures within minutes of the final hull popping.
To build your circuit, open your star map and search for a cul-de-sac: a chain of two to three systems connected by a single entry pipe. Your loop should resemble this operational pattern:
- The Entry Choke: A single gate leading from a regional transit highway into the pocket. You will place a scout or cloaked eye here.
- The Staging Hub: The first system past the choke. This is where you anchor bookmarks, store extra drones or ammunition, and stage backup hulls.
- The Dead-End Anchor: The final dead-end system in the pipe. This system serves as your primary site-clearing zone because hostiles cannot enter without passing your forward warnings.
By chaining anomalies between the staging hub and the dead-end anchor, you never cross public transit gates while carrying valuable loot. If local spikes with neutrals, you burn directly to an off-grid safe spot rather than racing toward an exit bubble.

EVE Echoes AUR

Blueprinting Your Safe Transit Grid
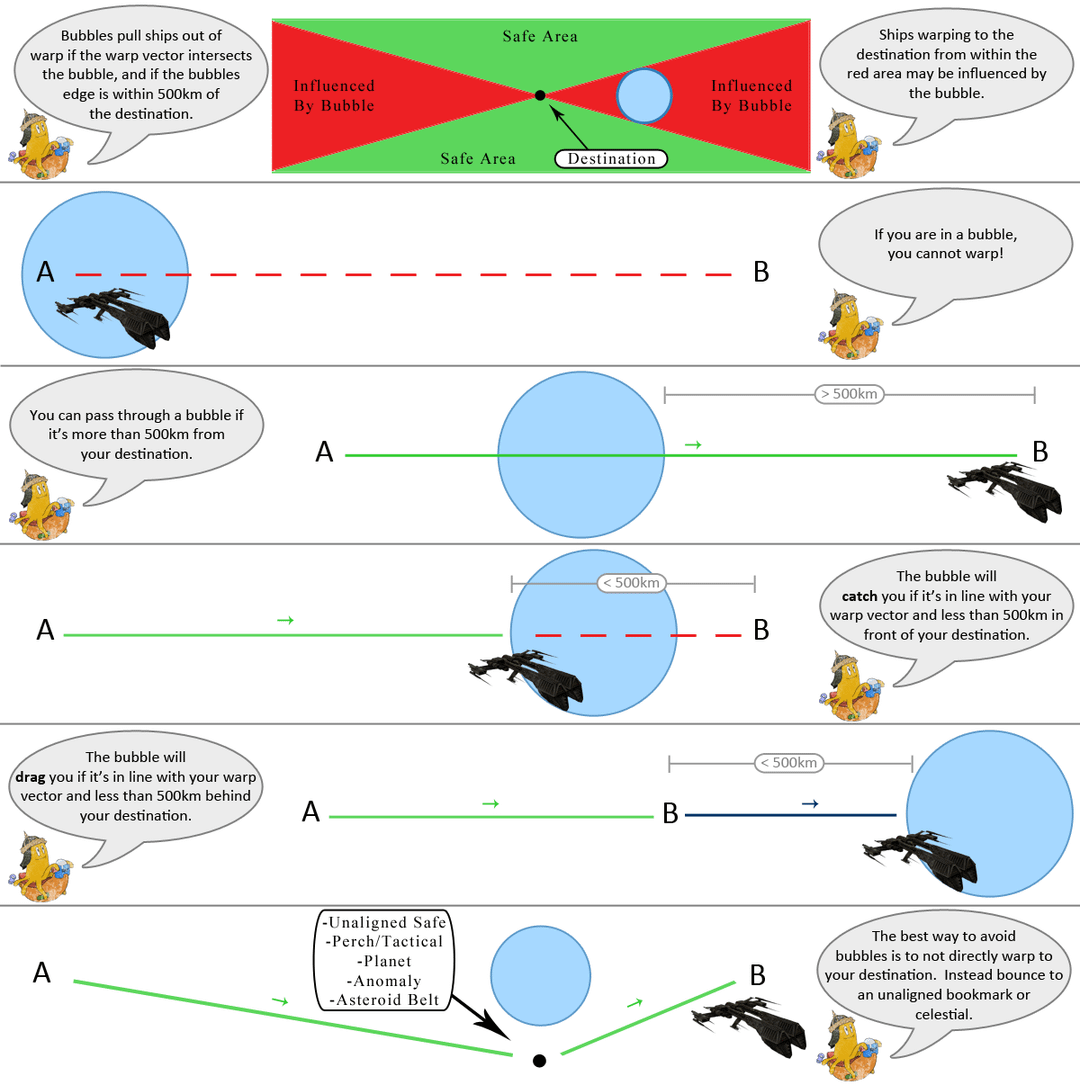
Map the pocket before deploying a single drone or locking a target. Trusting default warp commands drags your cruiser directly into gate camps: interdiction warp bubbles pull incoming ships out of transit and deposit them directly onto pre-aimed guns.
Surviving multi-jump null routes requires establishing a rigid bookmark network in every system along your loop. Take a fast frigate and establish the following grid before bringing your ratting hull into nullsec:
- Off-Grid Gate Perches: Drop bookmarks at least 150km to 250km off every stargate, completely off-grid from the warp line between gates.
- Station Instant-Undocks: Undock from your pocket station, hit a propulsion module, and fly in a straight line for 300km without changing heading. Save this bookmark to warp instantly off station without vulnerability to station-campers.
- Deep Safe Spots: Create 3 to 5 distinct non-aligned deep safe spots by dropping bookmarks midway through long warps between outer planets.
Another critical step often ignored by dead pilots: open your general settings and set Auto Target Back to 0 targets. If an aggressive scout decloaks and hits you with a civilian disruptor, your ship will automatically fire back if this setting is enabled. Returning fire activates an offensive weapon timer that prevents you from jumping through a gate or docking at a station for 60 seconds. Keep your auto-target at zero to ensure your escape vector stays open.
Site Hierarchy and Anomaly Chaining
Maximizing ISK per hour means ignoring low-value signatures on your overview. Base combat anomalies follow a four-tier difficulty structure. Clearing them systematically forces the pirate base to respawn higher-difficulty signatures and escalations.
The progression starts with base anomalies and scales up rapidly:
- Level 1: Base Pirate Patrols / Clusters
- Level 2: Hidden Anomalies
- Level 3: Forsaken Anomalies
- Level 4: Forlorn Anomalies
Clearing these systematically is how you trigger lucrative escalations. The table below outlines the progression tiers, general wave intensity, and escalation output.
| Anomaly Tier | Threat Level | Primary Wave Composition | Escalation Target | | :--- | :--- | :--- | :--- | :--- | | Hidden | Level 2 | Light Frigates & Destroyers | Scout Sites | | Forsaken | Level 3 | Battlecruisers & Heavy Cruisers | High-yield Inquisitor Spawns | | Forlorn | Level 4 | Battleship-heavy elite waves | 10/10 Escalations | | 10/10 Escalation | Peak Threat | Multi-room elite boss spawns | Fixed 130,000,000+ ISK Payouts |
The anomaly tiers above represent standard progression scaling; higher site tiers require dedicated long-range or active tanking setups.
Forsaken and Forlorn signatures form the backbone of mid-to-endgame solo ratting. Clearing Forlorn anomalies can trigger rare 10/10 combat escalations that pay 130 million ISK or more in flat bounties, excluding faction module drops. When risking high-tier hulls, keeping clone skills active is mandatory; you can secure your EVE Echoes AUR to maintain Omega status and protect your high-tier bonuses.
Kill Priority Under Fire: Sanctum Breakdown
When you warp into a high-tier Forsaken Sanctum, panic will get you killed. The overall DPS of an elite nullsec wave is high, but the damage is manageable if you clear threats in the correct sequence. Tackle modules are your absolute enemy. If you get pinned by multiple scrams while elite battleships pound your signature, you will lose your ship.
Always follow this kill priority without deviation:
- Warp-Disrupting Frigates: Eliminate anything pinning your warp drive immediately.
- Stasis-Webbing Destroyers and Cruisers: Remove speed-reduction threats to regain transversal velocity.
- Battlecruisers: Clear out intermediate damage projectors.
- Battleships: Finish off heavy bounty anchors once grid control is secured.
The table below shows the specific threat values and payout profiles for core spawns inside Forsaken Sanctums.
| NPC Class | Threat Profile | Module Engagement Range | Base Bounty Value |
|---|---|---|---|
| Sanctum Destroyer | High Tackle Threat | 12 km Warp Disruption | 36,800 ISK |
| Sanctum Battlecruiser | Speed Reducer | 12 km Stasis Webifier | 550,000 ISK |
| Sanctum Battleship | Heavy Long-Range DPS | Extended cross-faction projection | 3,200,000 ISK |
Sanctum destroyers pose the highest threat to survival due to tackle modules despite their minor bounty payouts.
Sanctum destroyers deal roughly double the damage of normal destroyers and carry that deadly 12 km tackle range. The 3.2 million ISK battleship bounty is tempting, but ignoring a 36,800 ISK destroyer while focusing on the heavy hull is why solo pilots lose billions in cruisers. Clear the tackle, stabilize your shield or armor buffer, and work your way up the tonnage scale.
Hunting Advanced Inquisitor and Deadspace Spawns
The real jackpot on an eve echoes nullsec farm route does not come from base bounty payouts. It comes from rare cosmic anomalies. Advanced Inquisitor Cosmic Anomalies feature maximum tier difficulty across 5 levels, with discovery rates that scale higher the lower the system's security status. If you are farming in deep -0.8 to -1.0 nullsec pockets, your chance of triggering an Advanced Inquisitor site increases significantly.
Pirate fleets defending Advanced Inquisitor sites field Mk.IX up to Faction modules. Core drops include:
- Faction Modules (Shield Boosters, Weapon Upgrades, Hardeners)
- Tech Datacores
- Neuroreactive Implant Units
- High-tier Rig Blueprints
- Drone Blueprints
- Merits and Inquisitor Loyalty Points
In contrast, standard Deadspace anomalies generated naturally from system pirate bases have seen their spawn probability reduced from 1.0% down to 0.4%. Do not sit in a system waiting exclusively for a standard Deadspace to appear; base your farming loop around clearing combat signatures to spawn Advanced Inquisitor sites.
If you encounter a Nihilus Deadspace gravity well, be aware that these spawn naturally roughly once every 28 days per nullsec system. They offer multi-exit instances with enormous rewards, but require fleet assistance or heavily pimped hulls to clear safely.
Implant Tuning and AI Combat Efficiency
Solo clearing speed depends heavily on your fitting optimization and passive combat routines. Echoes features AI-assisted combat, and recent optimizations ensure the client actively enables and maintains close-in weapon systems throughout anomaly waves. If you fly drone boats or brawler hulls, this feature minimizes target acquisition downtime.
Your implants must match your defensive profile. Reactive Implant General Units provide distinct trade-offs between raw hit points, active cycling efficiency, and lock speed. You should select the unit that patches your hull's weakest survival layer.
| General Unit Type | Primary Positive Modifier | Direct Penalty Trade-Off |
|---|---|---|
| Shield Enhancement | +10% Shield Capacity | -10% Self & Remote Boost Amount |
| Armor Layering | +10% Repair Amount | -5% Ship Mass / -7.5% Armor HP |
| Radar Enhancement | +15% Scan Resolution | +10% Signature Radius |
General Units demand careful selection; running the Radar unit increases your signature radius, making you take more damage from battleship guns.
Armor Layering units suit active-tanked cruisers best: the +10% repair boost offsets incoming DPS during elite battleship waves, while the 5% mass reduction aids agility. Skip Radar Enhancement for solo ratting. Its 10% signature radius penalty lets heavy NPC cruise missiles and large lasers apply unmitigated damage to your hull.
To fit these high-end implants and upgrade your rigs, you will need substantial liquid funds; you can refill your AUR balance to convert into essential marketplace resources for ship optimization.
Managing ESS Payouts and Bubble Extraction
Ratting in nullsec introduces the Encounter Surveillance System (ESS). In sovereign territory, the ESS automatically takes 40% of all ratting bounty payouts and places them into a reserve bank. This bank pays out directly to ratting pilots every 3 hours across 20-minute tick intervals—provided a roaming pirate gang does not siphon it first.
Solo Ratting Cycle:
[Clear Forsaken Wave] --> [60% Direct Payout to Wallet]
                     --> [40% Retained in ESS Bank] --> [Paid Every 3 Hours]
If hostiles enter your pocket and stage inside the ESS perimeter, do not contest it alone in an expensive ratting cruiser. Let the siphon run if you cannot safely bring fleet backup. Sacrificing a 2-billion ISK ship to protect 50 million ISK in the ESS bank is bad math.
When it is time to haul your valuable loot out of the pocket to a highsec trade hub, gate extraction becomes dangerous. Theoretical evasion guides tell you that a simple cloak-and-Microwarpdrive (MWD) pulse will beat any gate camp bubble. In reality, mobile client stability makes this risky. If your mobile connection hiccups or your client suffers a frame drop while jumping into an interdiction bubble, your commands will lag, and you will be tackled before your cloak engages.
For hauling high-value Inquisitor loot drops, use specialized transit hulls. Venture series hulls can utilize Small Expedition series Needlejack Filaments to jump directly across space, completely bypassing camped regional choke gates. If you are moving heavy combat modules in an industrial hull, fit an Interdiction Nullifier alongside multiple Warp Core Stabilizers, and always warp to your off-grid perch bookmarks first.
Scaling to Tech 10 Capital Ratting
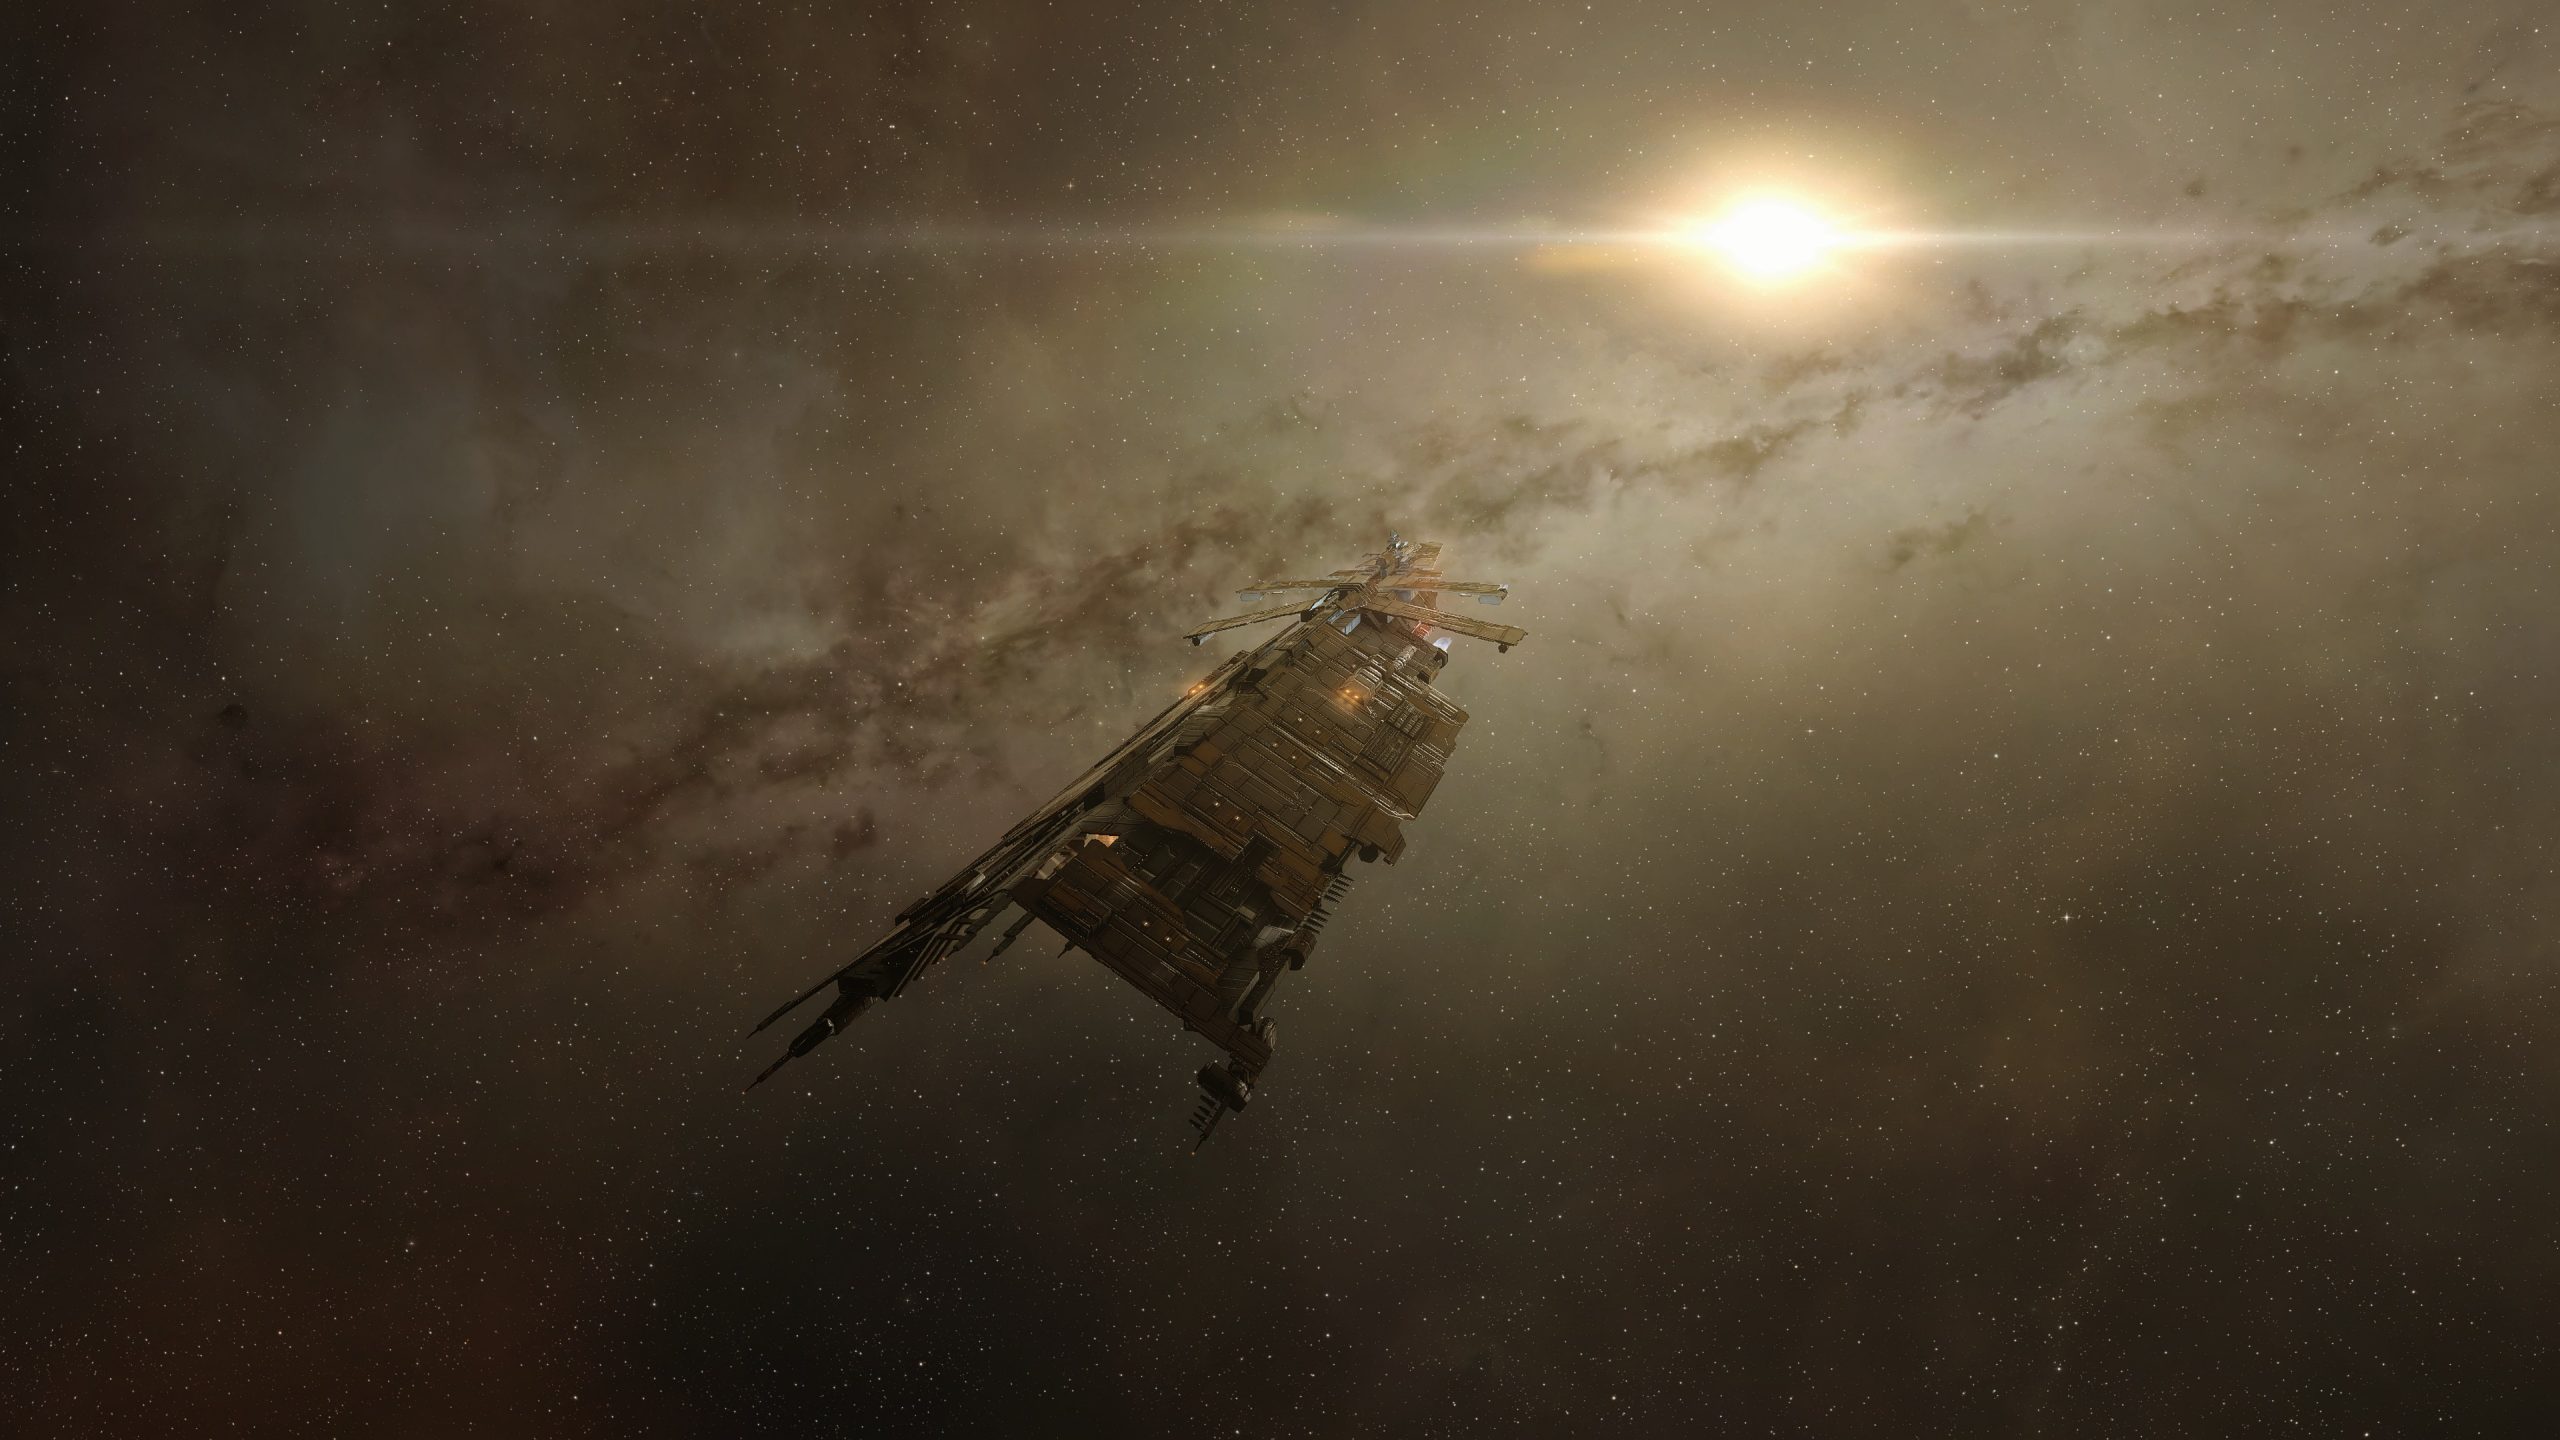
Once you reach endgame status at Tech Level 10, solo anomaly farming shifts from cruisers up to capital ships. Piloting a carrier like the Minmatar Nidhoggur transforms your ISK generation, allowing you to wipe out Sanctum waves in minutes using heavy fighter wings.
However, the financial risk escalates drastically:
- Hull Valuation: The Minmatar Nidhoggur carries a base market hull valuation exceeding 14.8 billion ISK.
- Skill Requirements: Demands Tech Level 10 and an active Omega clone.
- Transit Penalties: Features a slow base warp speed of 1.5 AU/s, making gate travel suicidal without cynosural field support.
- Nanocore Restrictions: Nanocores run from Type I through Type IV, but CONCORD places high-tier Type III and Type IV cores on trade-restricted lists, preventing standard player market sales.
Operating a 15-billion ISK carrier solo without alliance support in an open pocket will result in a dead carrier. Solo capital ratting requires total sovereignty control, active intel channels, and local cyno beacons. Until you have that infrastructure, stick to agile cruisers and battlecruisers. For pilots aiming to skill into capital hulls and upgrade advanced clones, you can top up your EVE Echoes wallet to keep your skill injectors flowing.
FAQ
What ship classes are most efficient for solo nullsec anomaly ratting?
Tech 8 to Tech 10 drone cruisers and battlecruisers provide the best balance of speed, engagement range, and damage application. Ships like the Vexor Navy Issue and Ishtar allow you to orbit anomalies outside tackle range while drones clear targets. Capital ships like the Nidhoggur clear sites faster but carry catastrophic loss risks.
How can solo pilots avoid gate camp bubbles while traversing nullsec farm routes?
Equip an Interdiction Nullifier combined with Warp Core Stabilizers to burn through bubble perimeters. Never warp directly from gate to gate; always bounce to an off-grid perch bookmark positioned at least 150km away to inspect the gate before landing.
What is the correct targeting priority when clearing nullsec combat anomalies?
Eliminate warp-disrupting and stasis-webbing frigates and destroyers before shooting anything else. Once tackle threats are off the board, eliminate battlecruisers to reduce incoming cruiser-grade DPS, leaving heavy battleships for last.
Why should pilots disable the Auto Target Back feature before entering nullsec?
Setting Auto Target Back to 0 targets prevents your ship from accidentally firing on bait vessels or neutral scouts. Returning fire triggers an offensive weapon timer that prevents you from jumping gates or docking for 60 seconds.
What makes Advanced Inquisitor Cosmic Anomalies lucrative in 2026?
Advanced Inquisitor sites feature hard 5-level difficulty encounters with high spawn rates in deep nullsec systems. They drop valuable Mk.IX to Faction modules, Neuroreactive Implant Units, and rare rig blueprints that command massive marketplace prices.
How does the Encounter Surveillance System affect solo ratting income?
The ESS automatically diverts 40% of all ratting bounties into a regional reserve bank that pays out every 3 hours. Solo pilots receive the remaining 60% instantly in their wallet, but must monitor the ESS to ensure roaming gangs do not siphon the banked balance.
Can solo industrial and mining ships traverse nullsec pipe routes safely?
Venture series hulls can equip Small Expedition Needlejack Filaments to bypass camped choke points entirely by jumping to random nullsec vectors. For standard transport hulls, using nullifiers, cloak-MWD pulses, and deep safe bookmarks is mandatory.
The Route Verdict
Running an eve echoes nullsec farm route is not about braving open highways; it is about controlling an isolated cul-de-sac. Roaming across active constellations guarantees an eventual death to an interdiction bubble camp. Anchor yourself in a quiet two-system dead-end pocket, prepare your 150km gate perches, set your auto-targeting to zero, and aggressively clear Forsaken anomalies to force Advanced Inquisitor spawns.
Clear the 12 km tackle destroyers first, let the ESS bank tick quietly, and haul your valuable blueprints using filament-equipped hulls. Methodical pocket looping will consistently out-earn reckless roaming while keeping your combat hulls intact.



Comments