
Clearing Norman War Plan efficiently depends on staging your combat clears around daily electricity generation rather than exhausting support bot power on early mine sectors. By banking electricity until later stages, you maximize support buffs against high-defense bosses while securing peak reward yields, including Tantalum Ore. Roster readiness dictates clear speed, with mid-to-endgame units scaling via high-grade weapon resonance USBs, hypertune resources, and skill development boxes, alongside target banners where single pulls cost 250 Black Cards toward the 60-pull (15,000 Black Cards) pity threshold.
How electricity and support bots work in Norman War Plan
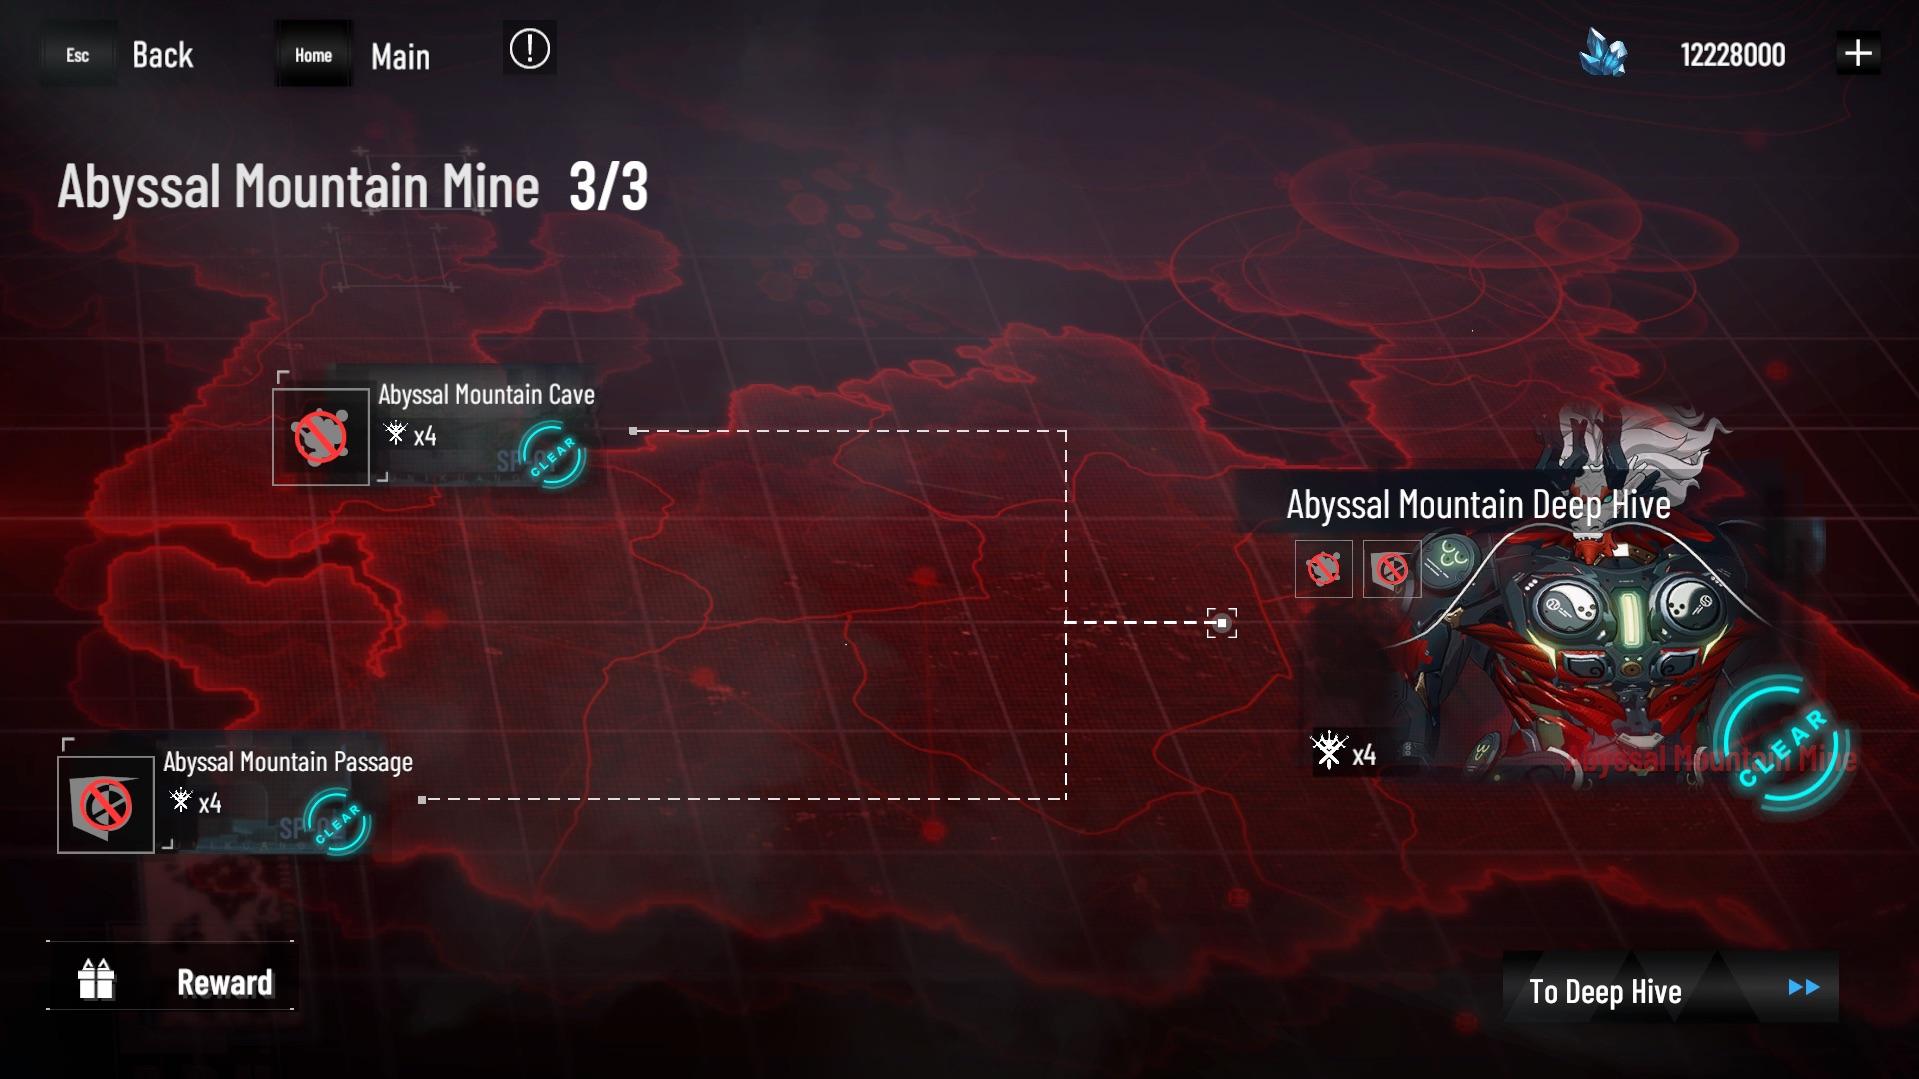
Norman War Plan is a bi-weekly mining campaign divided into sequential shafts. Clearing deeper stages requires balancing construct combat strength against electricity production. Each day, your camp produces a set amount of electricity to power support bots, which grant team-wide offensive buffs, damage mitigation, and tactical perks.
Dumping electricity into opening sectors is the most common mistake. Early waves do not warrant bot assistance; baseline teams can clear them unbuffed. Bank your battery reserves for later battlefields, where high defense modifiers and tight countdown timers make overclocks mandatory.

5 Rainbow Cards
 5 Rainbow CardsUSD 0.63Buy Now
28 Rainbow Cards
28 Rainbow CardsUSD 3.04Buy Now34 Rainbow Cards
34 Rainbow CardsUSD 3.82Buy Now59 Rainbow Cards
59 Rainbow CardsUSD 6.19Buy Now71 Rainbow Cards
71 Rainbow CardsUSD 7.43Buy Now119 Rainbow Cards
119 Rainbow CardsUSD 12.58Buy Now299 Rainbow Cards
299 Rainbow CardsUSD 31.62Buy Now600 Rainbow Cards
600 Rainbow CardsUSD 62.47Buy Now
Norman War Plan: Pioneer vs Regular mode
Locking into the wrong difficulty bracket can stall progression and forfeit stage rewards. Players choose between two operational tracks:
- Regular Mode: Features lower enemy defensive scaling and lenient clear timers. This mode suits rosters still building elemental coverage or teams lacking specialized tanks and amplifiers. Reward thresholds are lower, but completion is guaranteed.
- Pioneer Mode: Features accelerated enemy stats, complex affixes, and demanding multi-team requirements across deeper mine levels. Clears yield superior batches of Tantalum Ore and upgrade mats, but failure to clear stages before the daily electricity decay locks out top reward brackets.
Choose Pioneer mode only when you field at least three fully leveled, distinct elemental teams capable of managing multi-node battles.
Electricity banking strategy and clear order
Pacing clears across the event timeline preserves battery reserves for high-defense boss encounters.
Days 1 to 2: Conserve and scout
- Clear initial mine sectors manually using unbuffed baseline teams.
- Do not assign electricity to support bots for these opening stages.
- Bank 100% of accumulated electricity in your tactical reserve.
Days 3 to 4: Mid-tier breach
- Encounter multi-team nodes in intermediate mine shafts.
- Allocate minimal battery output to unlock basic survivability modules on nodes with aggressive environment hazards.
- Rely on main DPS rotations rather than max-level bot overclocks.
Day 5 and beyond: Final shaft push
- Deploy your stored electricity reserves into maximum support bot overclocks.
- Focus bot buffs directly on your weakest elemental team to bridge damage gaps against the final mine bosses.
- Complete remaining stages within the final settlement window to preserve optimal reward yields.
Roster preparation: materials and banner thresholds
Support bots cannot carry an under-geared team through deep Pioneer stages. High-tier clears require focused material investment into primary DPS and amplifier constructs rather than spreading upgrades evenly.
According to official material guidelines, player construct performance can be accelerated through high-grade USB resonance memory packs, hypertune materials, and skill development boxes. Prioritize hypertuning the bottom memory row on your primary carry constructs to maximize offensive stats, while weapon resonance USBs provide unconditional skill triggers and orb economy improvements.
Expanding your elemental coverage requires structured Black Card management. Construct event banners operate on strict rates: a single pull costs 250 Black Cards, requiring exactly 15,000 Black Cards to reach the guaranteed 60-pull pity target according to ArcTopUp construct data. Players supplementing their currency reserves through paid options can utilize Punishing: Gray Raven Rainbow Cards, the primary premium currency used to obtain monthly passes, limited-time supply packs, and weapon resources, or convert them directly into Black Cards to secure missing team anchors.
Common Norman War Plan mistakes to avoid
- Over-investing battery early: Activating full support bot buffs on mine sectors 1 through 3 leaves you starved for electricity when encountering the severe defensive walls of final sectors.
- Spreading upgrades too thin: Distributing hypertune resources and skill boxes evenly across an entire 15-construct roster reduces peak burst. Concentrate materials on one dedicated carry per team.
- Ignoring team locking: Early mine tiers lock deployed constructs to specific nodes. Deploying your strongest carry on an easy side node locks them out of the primary boss fight, forcing unnecessary battery expenditure to recover.
- Missing reward settlement windows: Delaying deep mine clears beyond the daily refresh reduces your final Tantalum Ore payout, even if the stage is eventually cleared before the bi-weekly event concludes.

Comments