
Soft tip: stock UC for Royale Pass, crates, or event skins on ARCTopup PUBG Mobile UC with Player ID only.
BGMI Control Layout Comparison (August 2026)
Updated on 2026-08-04: finger comparison table, six aim-killing mistakes, size/opacity ranges, and Training Ground drills.
Pick finger count from reaction speed and fight type, then fix the six mistakes below. Pro HUDs put fire opposite the joystick so the thumb and index finger share the load.
Layout | Reaction | Peek + fire lag | Best for |
|---|---|---|---|
2-finger | ~0.45s | ~200ms | Casual Classic, spray grind |
3-finger | ~0.35s | ~120ms | Step up from thumbs |
4-finger | ~0.28s | ~90ms | Serious ranked / Classic |
5-finger | ~0.20s | ~60ms | Esports multi-input grind |
Trade-offs in short:
2-finger: Stable sprays and close range. Cover fights and open peeks feel slow.
3-finger: Strong close + cover. Open sprays can choke.
4-finger: Jiggle, fire, crouch, peek in one flow. Needs 3–7 days of muscle memory.
5-finger: Fastest ADS + peek chain after mastery. Easy miss-taps until drilled.
Quick pick:
Fun / casual: lock in 2 or 3 fingers first.
Serious Classic: run 4 fingers.
Esports track: take 5 fingers and plan a longer drill window.

60 UC
 60 UCUSD 0.78Buy Now
300 + 25 Bonus UC
300 + 25 Bonus UCUSD 3.93Buy Now600 + 60 Bonus UC
600 + 60 Bonus UCUSD 7.87Buy Now1500 + 300 Bonus UC
1500 + 300 Bonus UCUSD 19.68Buy Now3000 + 850 Bonus UC
3000 + 850 Bonus UCUSD 39.37Buy Now6000 + 2100 Bonus UC
6000 + 2100 Bonus UCUSD 78.74Buy Now12000 + 4200 Bonus UC
12000 + 4200 Bonus UCUSD 157.49Buy Now18000 + 6300 Bonus UC
18000 + 6300 Bonus UCUSD 236.24Buy Now24000 + 8400 Bonus UC
24000 + 8400 Bonus UCUSD 314.99Buy Now30000 + 10500 Bonus UC
30000 + 10500 Bonus UCUSD 393.74Buy NowELITE PASS PLUS
 ELITE PASS PLUSUSD 21.24Buy Now
ELITE PASS
ELITE PASSUSD 8.65Buy Now
6 Mistakes That Ruin BGMI Aim
Fix these before you chase a new sensitivity code. Bad HUD geometry wastes good gyro.
Staying on Layout 1
Problem: left half locks movement, so aim space shrinks.
Fix: switch to Layout 3. Only the joystick zone moves; the rest of the screen aims.Guessing joystick spot / size
Problem: the stick feels stuck or overshoots.
Fix: hold the phone in fight grip, place the stick under your natural thumb, resize until the thumb covers the stick.Bad size + opacity
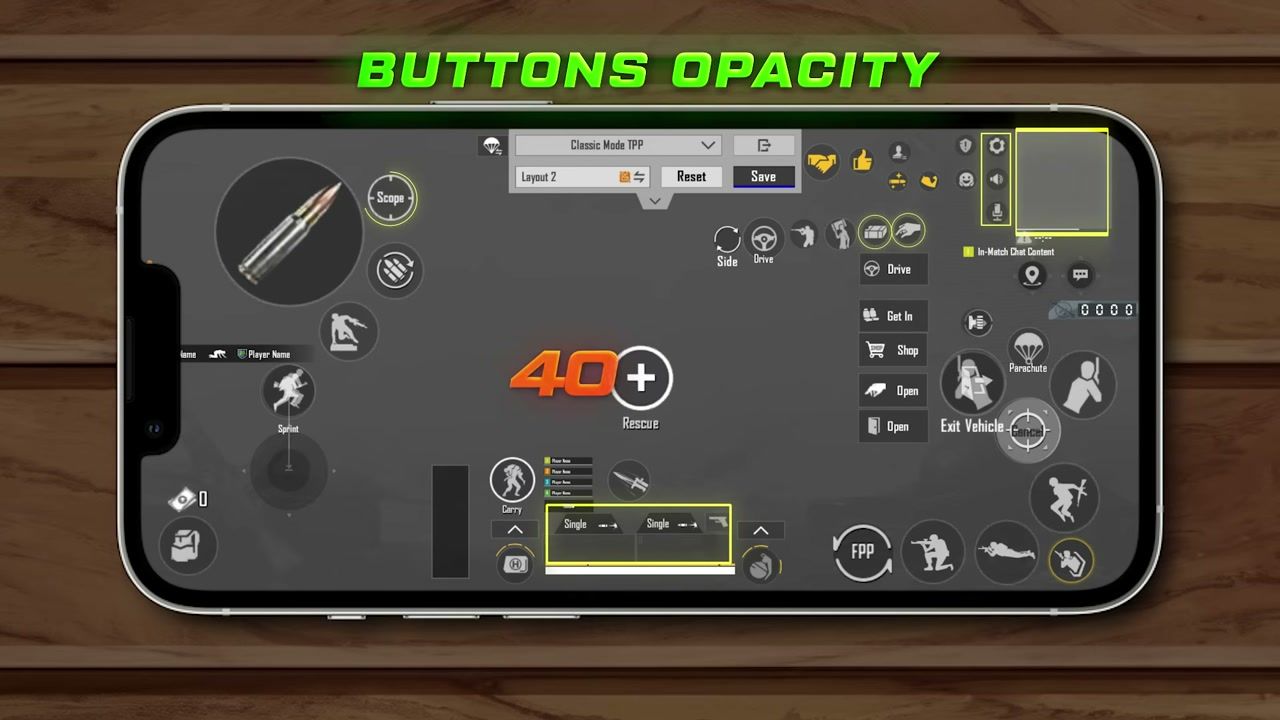
Problem: fat-finger fire / scope, cluttered view.
Fix: main buttons 240–250; secondary 200–210; rare buttons ~100+; combat opacity 5–10; map / slots / mic / settings 40–50.
Overlapping left + right fire
Problem: ADS aim shakes on close sprays.
Fix: keep left fire and right fire separated. Right fire moves the camera; left fire does not.Zero spacing between icons
Problem: circles look fine, but square hitboxes collide.
Fix: leave gaps so left peek cannot become right peek.Leaving dead buttons alone
Problem: the screen fills with unused controls.
Fix: merge pairs you never press together: Exit + Crouch, Scope + Cancel + Parachute, Eye + Scope adjust.
Extra settings that keep aim stable with any claw:
Scope Mode: Hold (or Mixed once you trust the grip)
Peek Mode: Hold / Mixed
Camera Rotation while Leaning: Off
Camera Rotation while ADS: Off
Left fire: Always On if you spray while strafing
How to Build Your BGMI Best Control Layout
Step 1: Open Settings → Controls → Customize. Select Layout 3 for Classic TPP.
Step 2: Place fire opposite the joystick. Top-left fire with bottom-right aim, or the mirror, depending on which index finger shoots.
Step 3: Set sizes and opacity from the table above. Save a draft before ranked.
Step 4: Zone the HUD by finger count (next section), then lock unused icons out of the combat corners.
Step 5: Run the Training Ground drill for 10–15 minutes before ranked. Import codes work as a start; nudge buttons for your phone size after any update.
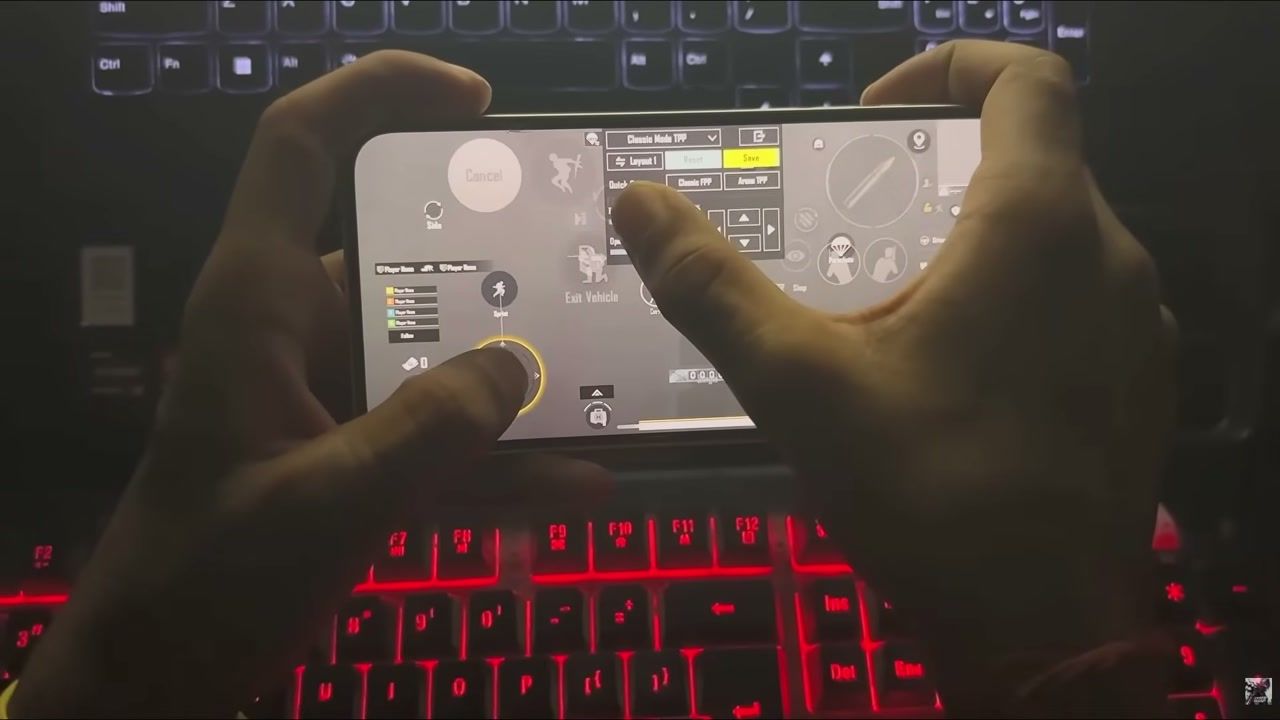
Save that draft, then build zones for your finger count below.
Finger Layout Build Maps
Zone the HUD so each finger owns one job. Use a grid like this as the base, then load the finger map that matches your grip.
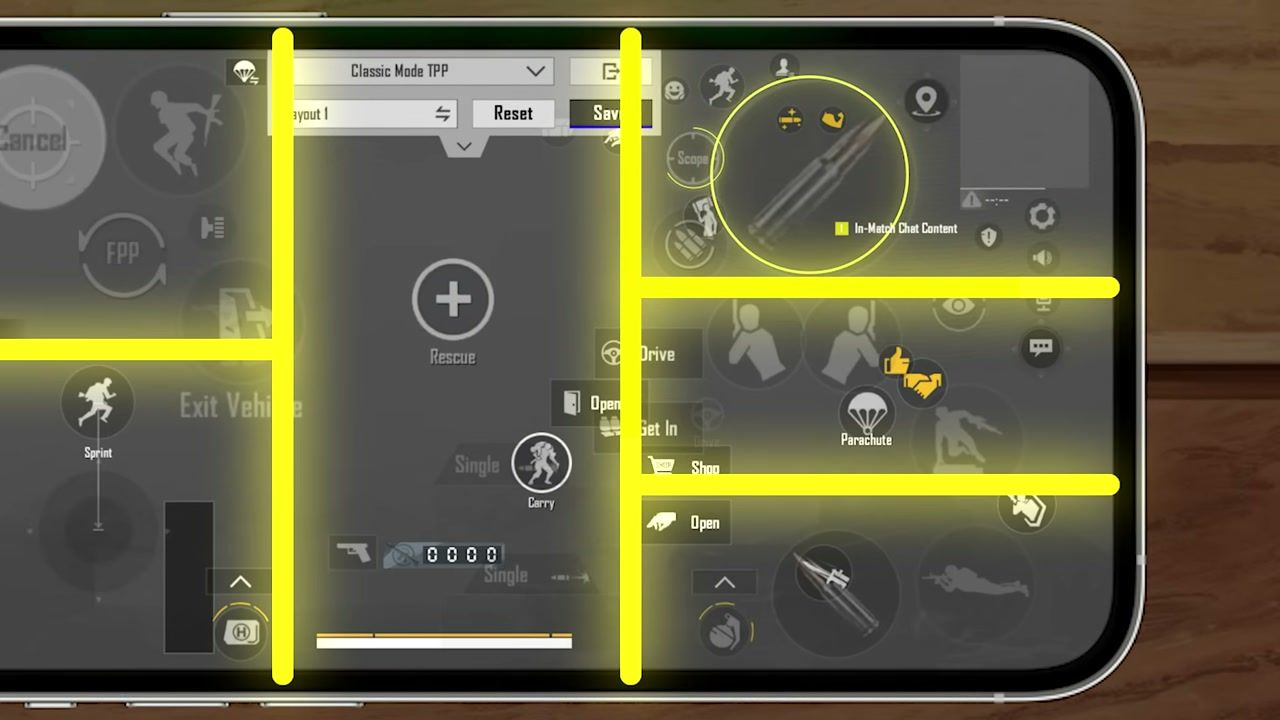
Keep combat icons on the edges and leave the center clear for tracking.
2-finger layout
Divide the phone into four zones:
Top utility: Map, loot, crates
Center: Gun slots, heal, revive
Left: Joystick, peek, backpack, cancel
Right: Fire, scope, jump, crouch, prone (tight cluster)
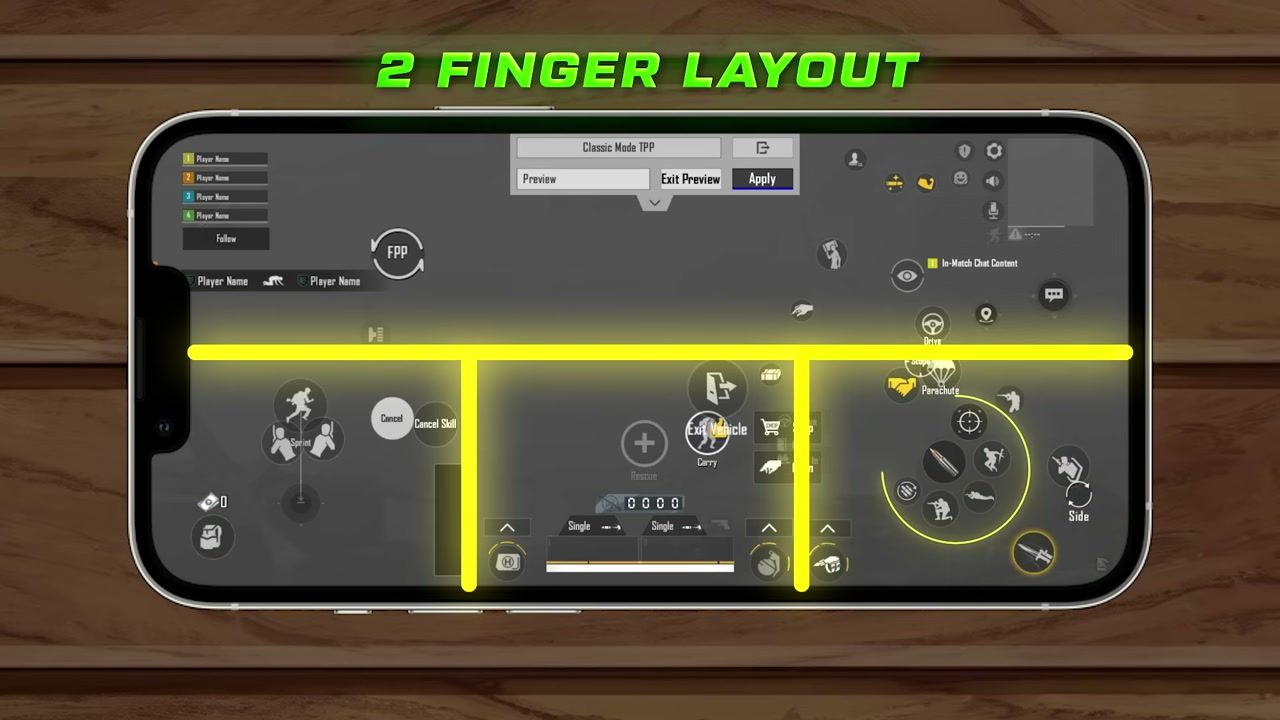
Keep right-side combat buttons close. Thumbs miss far taps first.
3-finger layout
Divide into five zones:
Map / loot / crates
Fire, reload, scope switch, climb
Gun slots + utilities
Joystick + backpack
Remaining right-hand combat
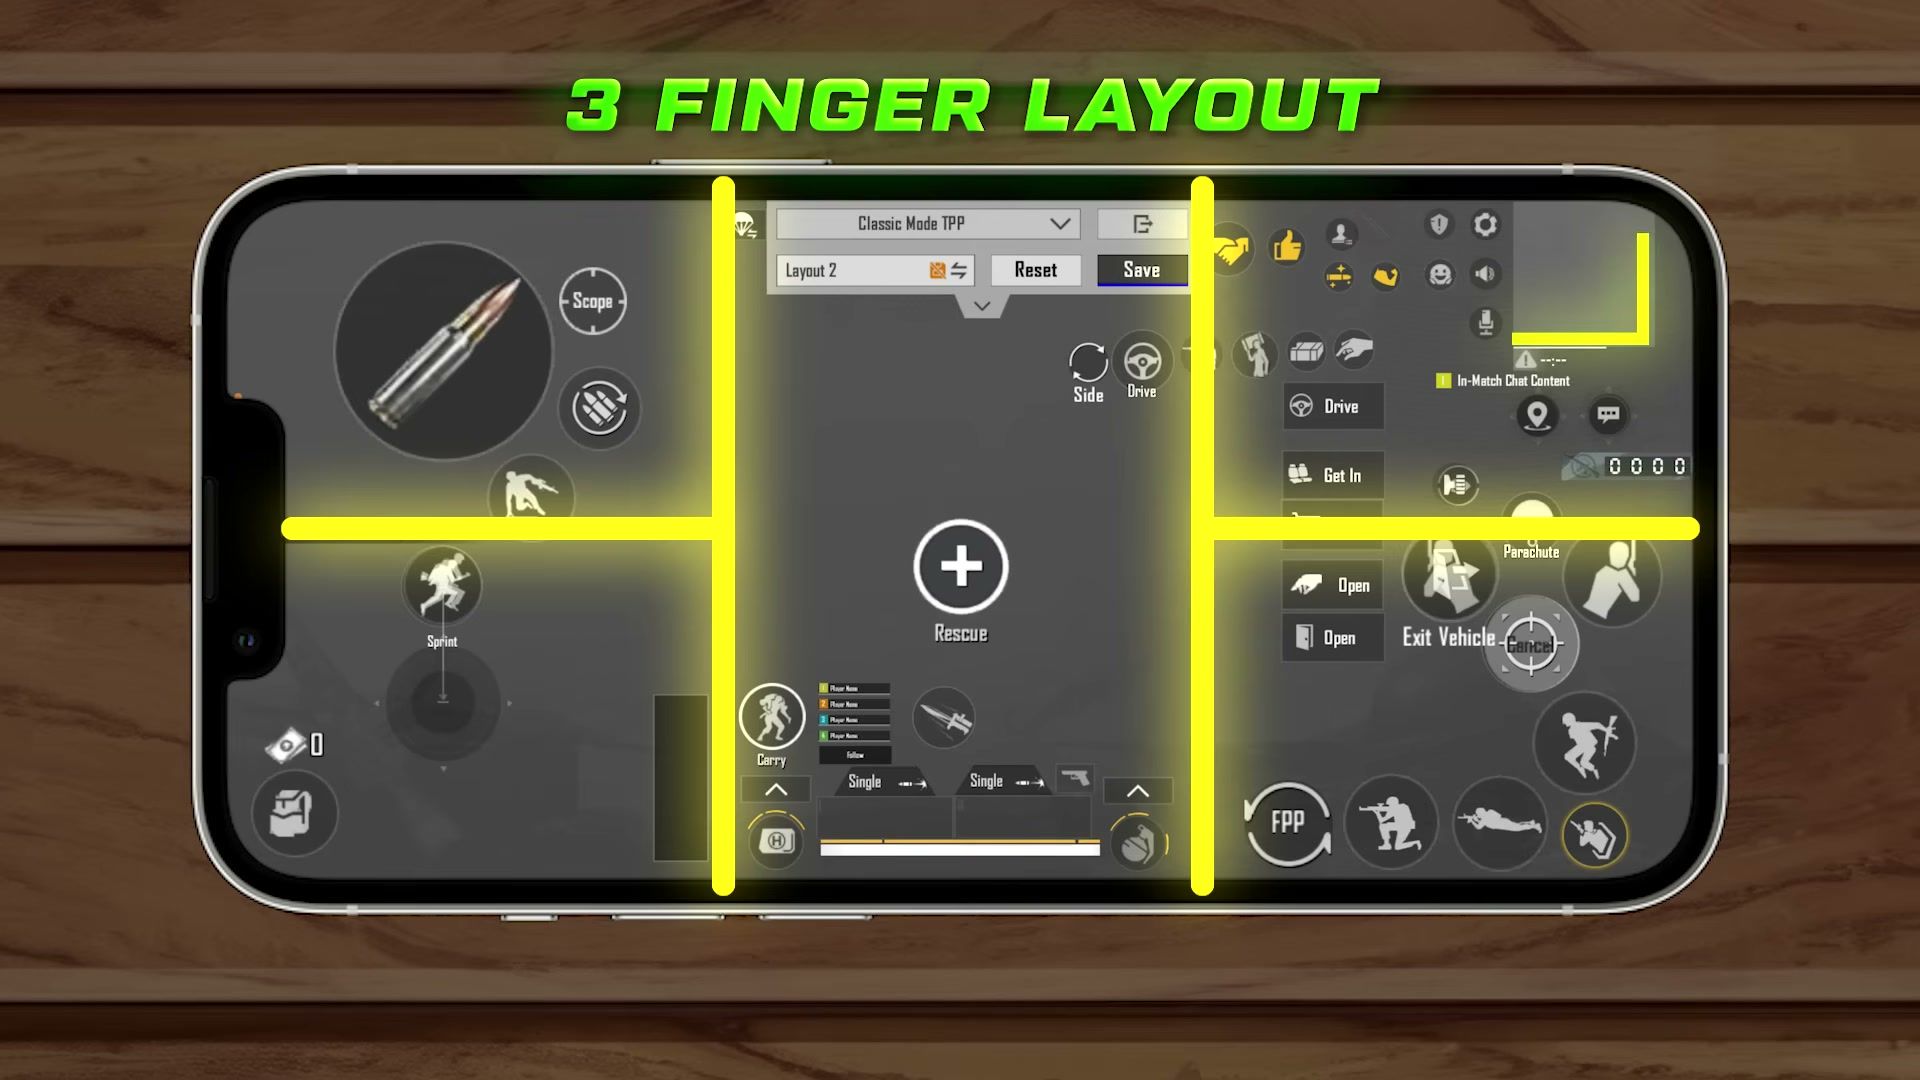
Left index owns fire for most claws. Right thumb keeps aim and stance.
4-finger layout
Group four combos:
Fire + reload + scope switch
Joystick + backpack + team UI + sprint
Peek + jump + climb + prone
Remaining utilities on the free edge
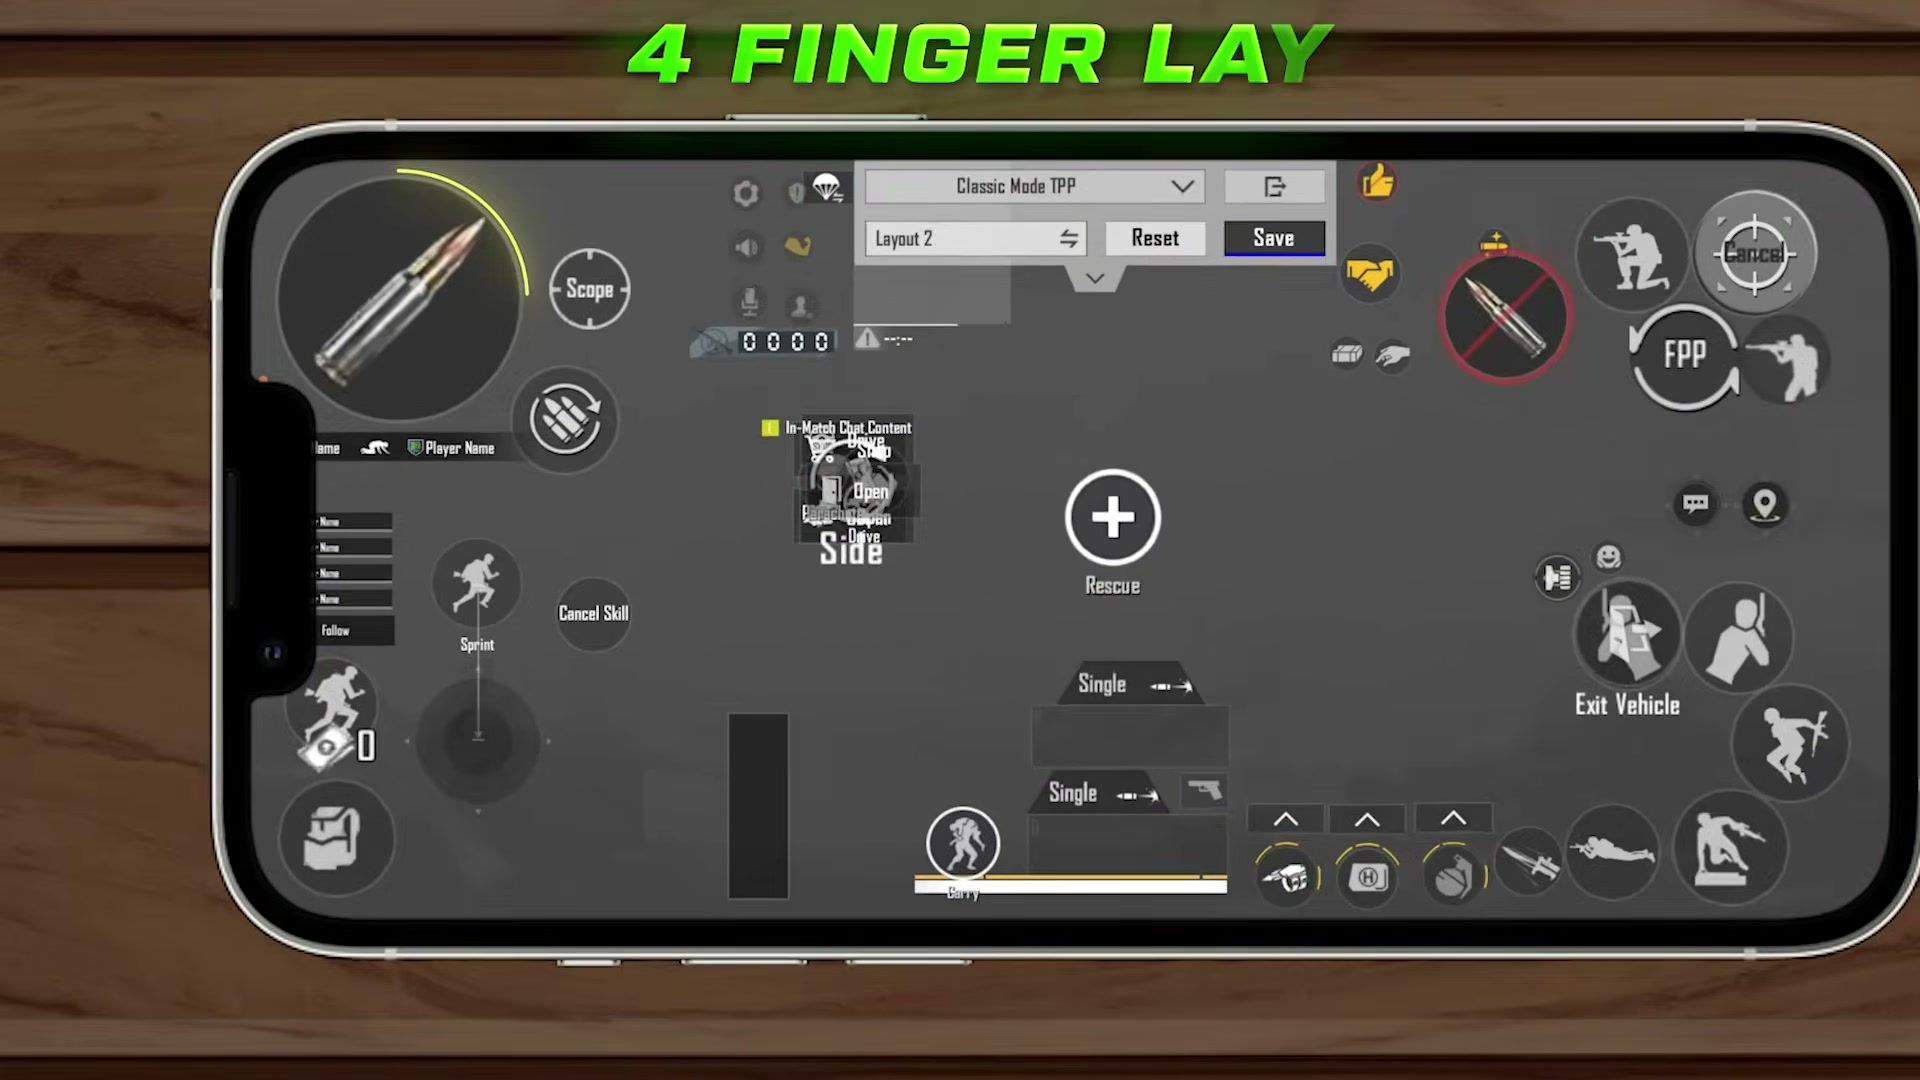
Index fingers sit on the top corners. Thumbs stay on move + camera. Fire buttons around 120–140% of default size land cleaner on many phones. Validate in Training.
5-finger layout
Decide fire side first, then split into six parts:
Fire + scope switch + reload
Scope / jump / FPP (swap with part 1 if fire flips side)
Crouch
Joystick
Gun slots + revive
Peek, climb, drive, get-in
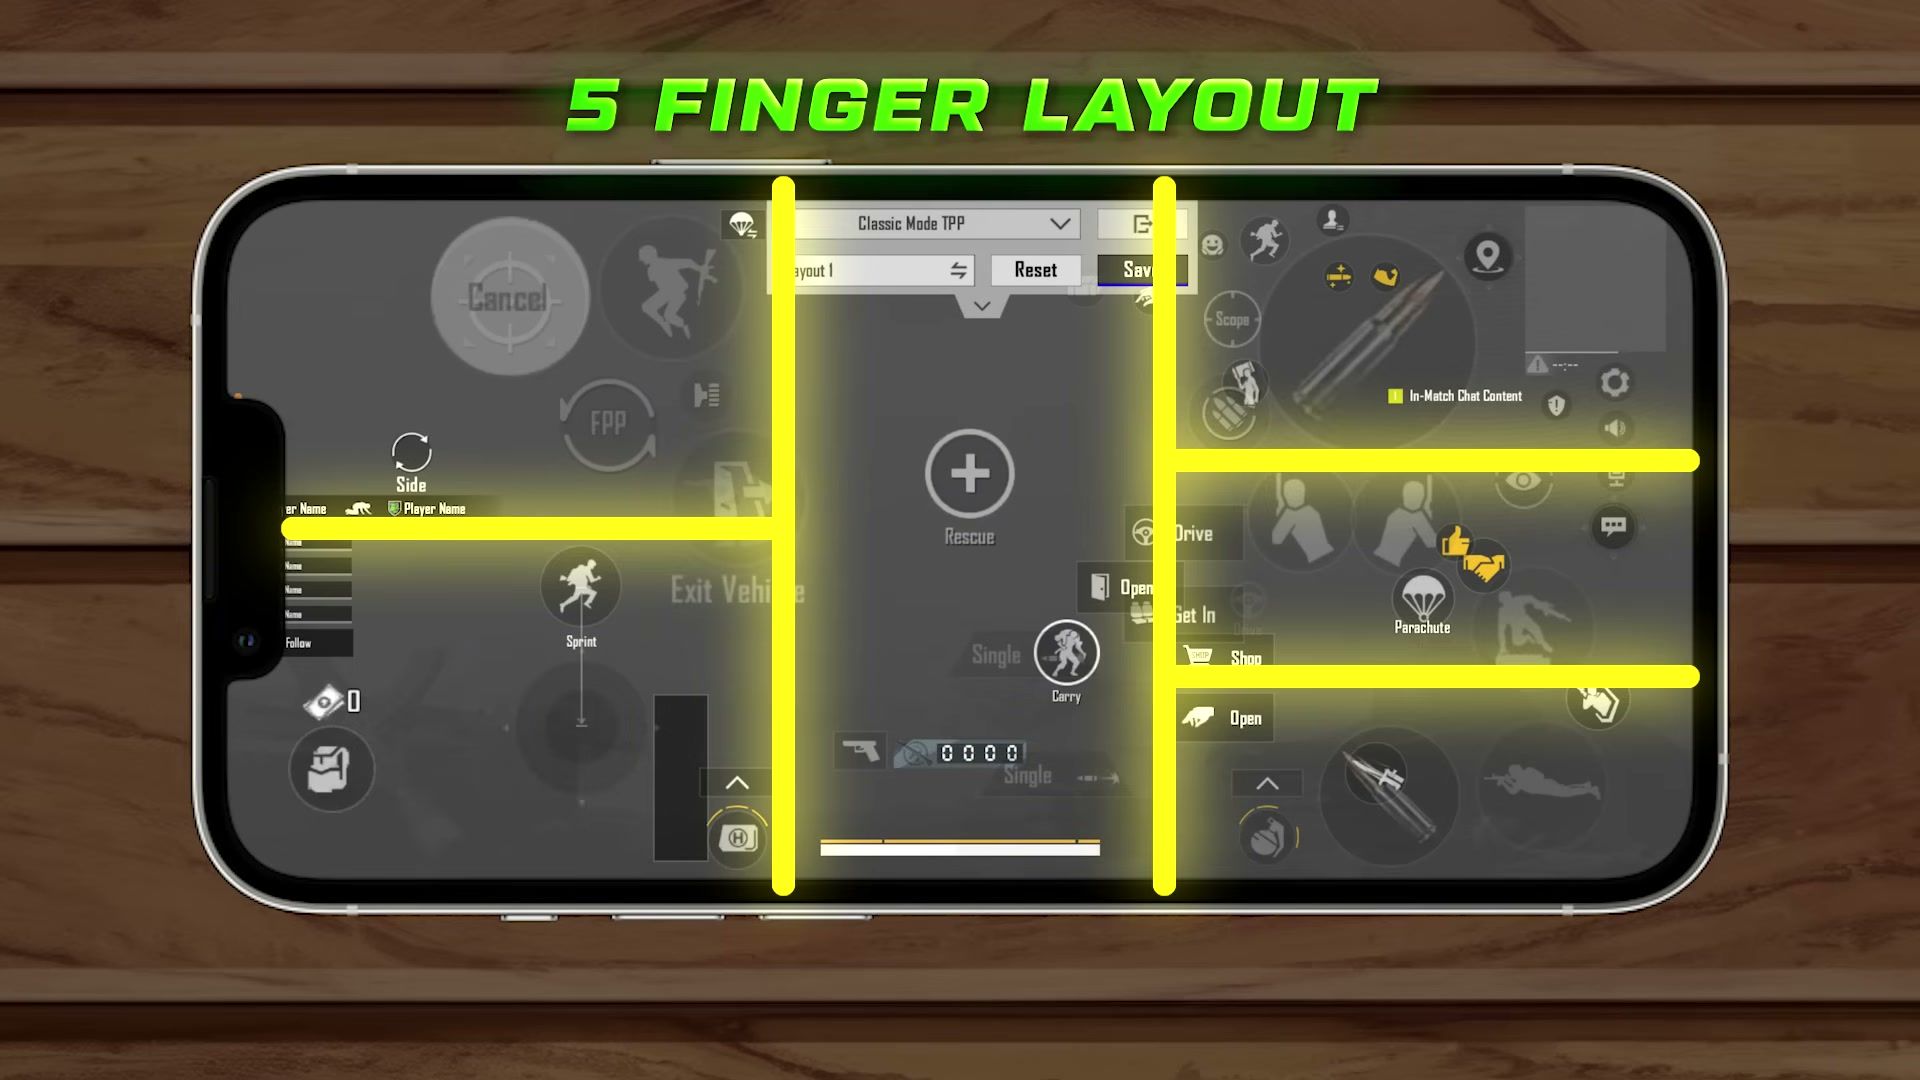
Mastery takes longer. Miss-taps fall after daily drills. One Classic match will not finish the job.
Practice Drills + Extra Upgrades
Run this loop in Training for 10–15 minutes:
Right peek → spray
Left peek → spray
Right peek again
FPP + prone for side reflex
A clean mid-fight HUD should leave the center sight picture open while combat buttons stay reachable by muscle memory.
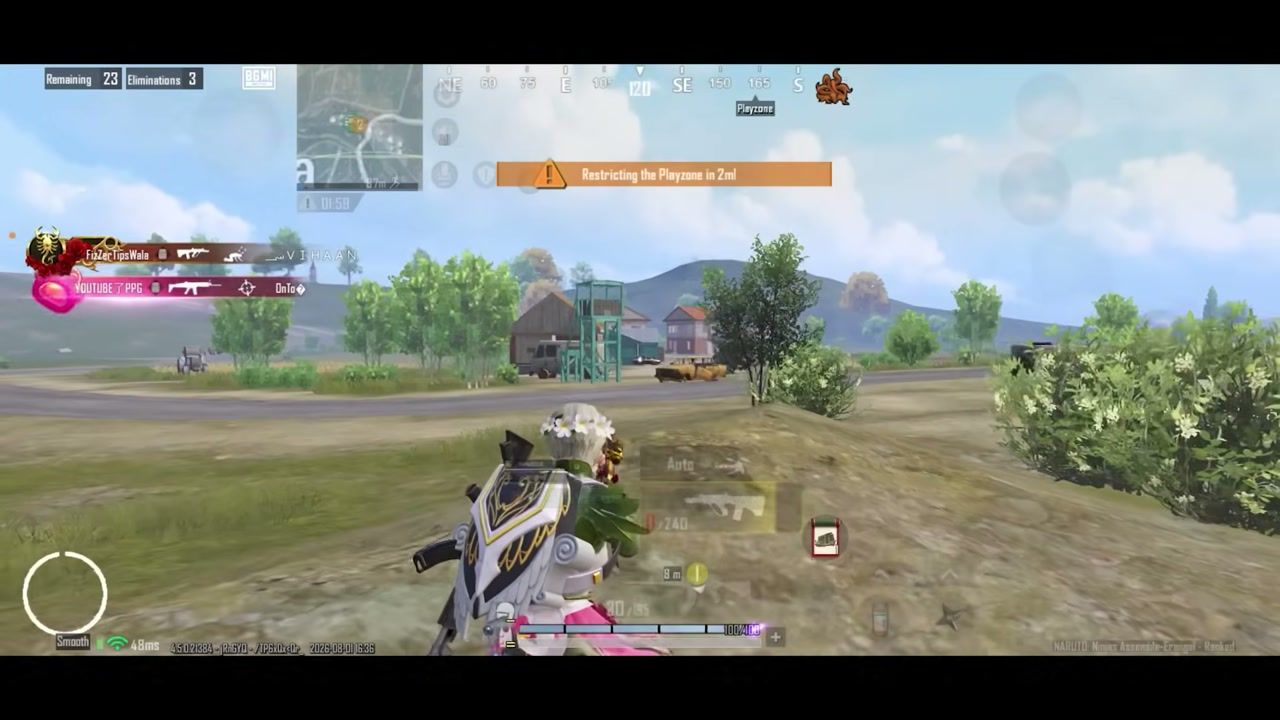
Then:
Import a starter code from a trusted creator, then retune for your screen.
Pair the HUD with gyro if you spray mid-range; start No Scope gyro near 300–400% and drop as scopes get longer.
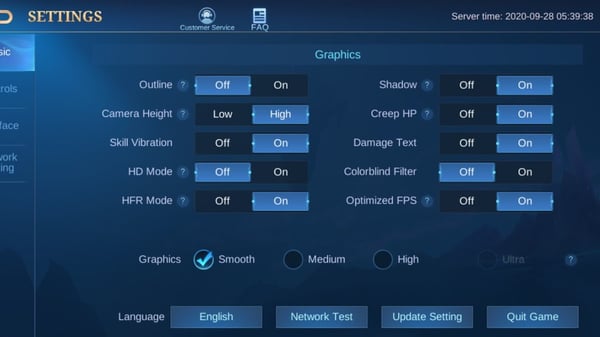
Keep graphics on Smooth if FPS dips during sprays.
After the drill block, check open-field tracking with the same low-opacity combat icons.
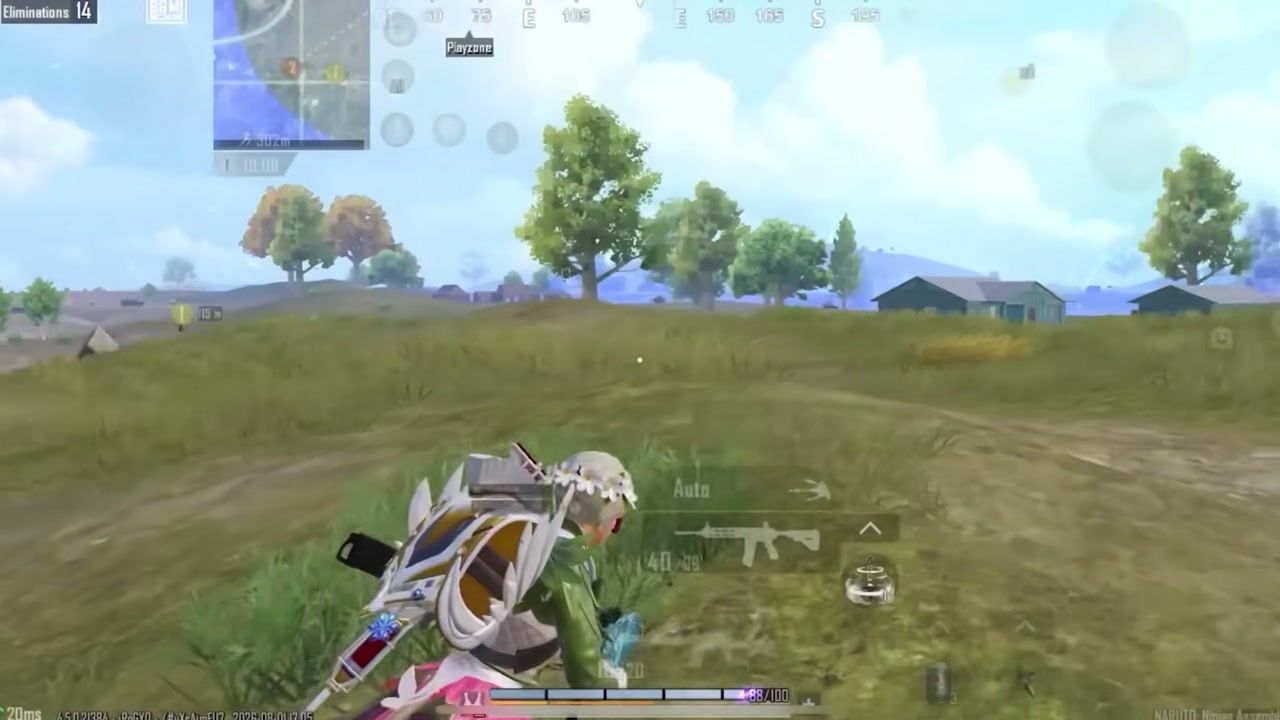
Need UC for the next Royale Pass, event crate, or skin grind after the layout sticks? Top up through PUBG Mobile UC on ARCTopup. Delivery uses Player ID, no password share.
Browse more game guides on the ARCTopup blog when you rotate seasons.
FAQ
What is the best control layout in BGMI 2026?
For ranked Classic, 4-finger claw is the sweet spot: move, aim, fire, and peek without parking a thumb. 5-finger posts the fastest reaction numbers after drills. 2–3 fingers cover casual spray fights if that is your lane.
Should I use Layout 1 or Layout 3 in BGMI?
Use Layout 3 when you customize. Layout 1 splits the screen into move half and aim half. Layout 3 limits movement to the joystick zone and frees the rest of the panel for aiming, which helps claw grips and reduces stuck sticks.
What button size and opacity should I use?
Keep fire, scope, jump, crouch, and prone near 240–250. Peek, FPP, reload, and scope switch near 200–210. Drop combat opacity to 5–10 so the sight picture stays clear. Leave map, gun slots, mic, speaker, and settings closer to 40–50 so you can still find them in downtime.
Why does my aim shake when I spray?
Overlapped left and right fire buttons force camera motion on contact. Separate them. Also turn off Camera Rotation while ADS / leaning, and give square hitboxes real gaps so peek and fire do not collide.
How long does a new claw layout take to learn?
Basic comfort lands in a few days. Stable ranked play takes about 1–3 weeks with short daily drills. A brand-new 5-finger HUD in ranked costs boxes until the muscle memory sticks.
Conclusion
A BGMI best control layout is Layout 3, fire opposite the stick, sane sizes, low combat opacity, separated fire buttons, and finger zones that match your grip. Bookmark this page for size/opacity ranges after big updates, then grab UC on ARCTopup when the next Pass or event drops.
Comments