Master the Onmyoji true orochi solo clear with exact 2026 speed tuning thresholds, full team lineups, and floor-by-floor tactics to beat Stage 10 every week.
Running True Orochi solo gives you absolute authority over speed tuning, soul loadouts, and turn order—eliminating the coordination errors common in co-op. A single mistimed speed bracket or counter-attack trigger ends a run instantly.
This breakdown details the standard Kuro Douji sweep engine. Lock in your speed benchmarks, respect target priorities on Floors 2, 6, and 10, and your weekly clears will run reliably without wipes.
Dungeon Mechanics and Weekly Entry Rules
True Orochi triggers as a random discovery after clearing Soul Zone Stage 10 (S10). Once found, the instance stays active on your interface for a limited window.
You can host two rewarded runs each week at 60 stamina per clear. A built-in safety net protects your attempts: quitting before completing Floor 1 refunds your entry. If your initial health sacrifice or turn order misfires on Stage 1, exit immediately, re-tune your souls, and restart without losing a weekly charge.
Solo rosters require 13 shikigami: 10 personal units and 3 friend assists, alongside Abe no Seimei and Kagura. You deploy 6 shikigami per floor. Note that timed soul drop boosters have zero effect inside True Orochi; leave them off to conserve buff duration.

Onmyoji Jades Top Up

True Orochi Speed Tuning and Turn-Order Thresholds
Speed tuning accounts for nearly every late-stage wipe. If your puller lacks sufficient speed, Stage 10 mobs cut in and wipe your damage dealers before your rotation starts.
Older guides often recommended a 210 SPD puller. That threshold invites speed ties and turn drift against Floor 10 Jorougumo. Run a minimum of 211+ SPD on your primary puller to lock down absolute turn priority across all ten stages.
Set your turn sequence strictly:
- Action Puller (211+ SPD) pushes the team action bar.
- Oitsuki (210+ SPD) casts her skill to supply starting orbs.
- Ushi no Toki (130+ SPD) links her straw doll to the priority target.
- Kuro Douji (128+ SPD) casts multi-slash sweeps at critical HP.
- SSR Orochi (128+ SPD, slower than Kuro Douji) grants Kuro Douji an extra action and Sea Sprite shields.
- Kagura (Floors 2–10) casts Storm to give Kuro Douji a follow-up turn if any target survives.
The table below details the mandatory benchmarks for every slot in your active team.
| Team Role | Shikigami Candidate | Soul Set | Target SPD | Target Stat Focus |
|---|---|---|---|---|
| Action Puller | Kamaitachi / Yamausagi / Kujira / Maki | Fortune Cat (4-pc) | 211+ SPD | SPD / Effect RES |
| Orb Generator | Oitsuki | Azure Basan (4-pc) | 210+ SPD | SPD / HP / Effect RES |
| Damage Amplifier | Ushi no Toki | Watcher (4-pc) + Odokuro (2-pc) | 130+ SPD | SPD / Effect HIT / HP |
| Primary Finisher | Kuro Douji | Seductress (4-pc) + Crit (2-pc) | 128+ SPD | 100% Crit / ATK / Crit DMG |
| Extra Turn Support | SSR Orochi | Sea Sprite (4-pc) | 128+ SPD (Slower than Kuro) | HP / HP / Crit |
| Floor 1 Reviver | Oguna / Momo | Unequipped or Broken Sets | Base SPD (Level 1) | Minimal HP (Level 1) |
| Floor 10 Control | SP Shuten Doji | Fortune Cat or Broken | 130+ SPD | ATK / ATK / Crit DMG |
Meeting these exact speed cutoffs ensures your damage dealer acts repeatedly without enemy interference.
Core Team Lineup and Soul Loadouts
Your 13-shikigami solo pool must cover the primary clear engine, floor specialists, and emergency substitutes.
The Core Engine
- Kuro Douji (The Finisher): Requires 100% Critical Rate on Seductress with at least 128 SPD. His passive triggers additional multi-slash sweeps for every 30% of max HP lost. Below 10% HP, he executes four continuous slashes per turn, resetting cooldowns on kills.
- SSR Orochi (The Enabler): Runs Sea Sprite (HP/HP/Crit). His shield protects low-HP Kuro Douji from stray chip damage, while his second skill gives Kuro Douji an immediate bonus turn with temporary invulnerability. Keep Orochi at 128+ SPD, strictly slower than Kuro Douji.
- Ushi no Toki (The Multiplier): Watcher 4-piece plus 2-piece Odokuro (Gashadokuro). Odokuro increases monster damage, dramatically boosting the damage transferred through the straw doll into the boss.
- Oitsuki (The Orb Battery): Azure Basan supplies four starting orbs each stage. At 210+ SPD, she acts immediately after your puller so Ushi no Toki and Kuro Douji have full orbs on turn one.
- Kamaitachi or Yamausagi (The Puller): 4-piece Fortune Cat at 211+ SPD. Kamaitachi brings passive turn cycling; Yamausagi provides lower orb costs.
Building these soul sets demands heavy AP farming. If resources run low while tuning, secure Onmyoji Jade packages to keep farming runs on schedule.
Alternative Slow Comps vs. Kuro Douji
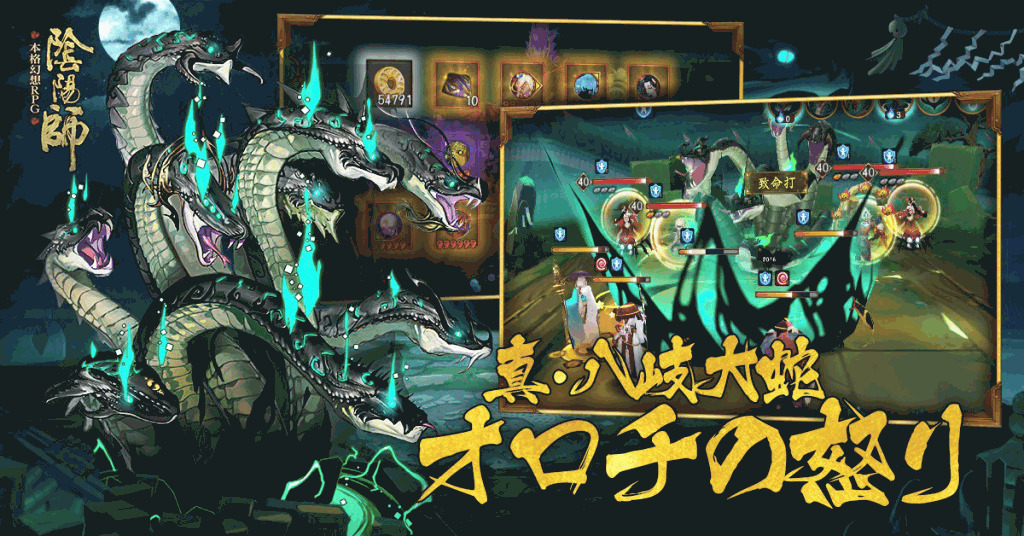
Some players field Shiranui teams using multiple Bakekujira alongside SP Ibaraki Doji or SP Tamamo no Mae. While durable, multi-Bakekujira setups drag clears past 10 minutes and require multiple fully skilled 5-star and 6-star units. The Kuro Douji engine clears all 10 stages in under four minutes with minimal skill daruma investment.
Floor 1 Setup: The Low-HP Kuro Douji Trigger
Stage 1 sets up the entire run. You must deliberately drop Kuro Douji to critical HP so his passive slash multipliers stay maxed for Floors 2 through 10.
Deploy this lineup for Floor 1:
- Primary Puller (211+ SPD)
- Oitsuki (210+ SPD)
- Ushi no Toki (130+ SPD)
- Kuro Douji (128+ SPD)
- SSR Orochi (128+ SPD, slower than Kuro)
- Level 1 Oguna or Level 1 Momo
- Onmyoji: Abe no Seimei (with Protective Barrier)
Floor 1 Execution Sequence
- Puller advances team action bars.
- Oitsuki generates starting orbs.
- Ushi no Toki connects her straw doll directly to Hitotsume.
- Kuro Douji casts his third skill on the doll. Hitotsume's damage reflection passive kills Kuro Douji instantly.
- Level 1 Oguna casts his revive, sacrificing himself to bring Kuro Douji back at minimal HP (or cast Momo's single revive).
- Seimei casts Protective Barrier to shield the low-HP Kuro Douji from stray hits for two turns.
- SSR Orochi grants Kuro Douji an extra turn. Kuro Douji slashes at maximum passive strength, wiping Floor 1 clean.
If Kuro Douji survives the reflect damage or Oguna dies before reviving, quit immediately. Quitting before clearing Floor 1 consumes zero weekly attempts.

Floors 2 Through 5: Mid-Stage Hazard Management
Swap your Onmyoji to Kagura with Storm starting on Floor 2. Fill the empty reviver slot with utility support like Maki, Kujira, or a backup DPS.
Floor 2: The Hannya Counter Hazard
Hannya's passive counter seals Kuro Douji's multi-slash skill upon direct hit.
- Target priority: Ushi no Toki links her straw doll to Hitotsume or the main boss.
- Never target Hannya directly. Kuro Douji's AoE cleave clears Hannya safely through collateral splash damage.
Floors 3 to 5: Clean Sweeping
- Floor 3: Link the straw doll to True Orochi. Kuro Douji sweeps. If any side snake survives, Kagura uses Storm on Kuro Douji to finish.
- Floor 4: Doll the main boss. Orochi's Sea Sprite shield absorbs passive counter hits from defensive side mobs.
- Floor 5: Doll the center boss. Kuro Douji sweeps the field in one or two turns.
Floors 6 Through 8: Dodging Deadly Counter Traps
Mid-to-late floors amplify counter-strike threats and balloon enemy health pools.
Floor 6: The Enemy Kuro Douji Threat
Floor 6 contains an enemy Kuro Douji. Hitting him directly without securing a one-shot drops his HP into passive range, triggering lethal counter-slashes that wipe your squad.
- Connect Ushi no Toki's straw doll to True Orochi or Enma.
- Avoid direct single-target attacks on the enemy Kuro Douji.
- Kuro Douji's full-power AoE cleave eliminates the enemy Kuro Douji in a single stroke from full HP, bypassing his retaliation threshold.
Floors 7 and 8: Sustaining Damage Priority
- Floor 7: Heavy damage stage. Link the doll to True Orochi. Kuro Douji sweeps; Kagura casts Storm if side mobs survive.
- Floor 8: Features Shuten Doji's burst damage. Kuro Douji sweeps cleanly as long as your puller maintains 211+ SPD priority.
Clearing Floors 7 through 10 adds a chance to drop the rare Snake Sword avatar frame.
Floors 9 and 10 Strategy: Conquering the Final Gauntlet
Most failed solo runs collapse on Stages 9 and 10 due to high enemy defense and passive damage spikes.
Floor 9 Breakdown
Floor 9 packs thick defensive stats and heavy burst damage.
- Puller pushes action bars.
- Oitsuki generates orbs.
- Ushi no Toki links her doll to the central True Orochi.
- Kuro Douji casts his multi-slash skill.
- SSR Orochi uses skill 2 on Kuro Douji for bonus damage and invulnerability.
- Kagura casts Storm on Kuro Douji to clean up remaining mobs.
Targeting optimal Seductress and Odokuro substats takes substantial stamina. You can grab an Onmyoji Jade top up to keep farming runs active without waiting on AP regeneration.
Floor 10: The Ultimate Stage 10 Strategy
Floor 10 pairs True Orochi with Jorougumo and Higanbana. Higanbana deals passive damage every time your units take a turn, while Jorougumo threatens heavy stuns.
Adjust your lineup before entering Stage 10 by putting SP Shuten Doji in slot 6.
Active Floor 10 Lineup: * Primary Puller (211+ SPD) * Oitsuki (210+ SPD) * Ushi no Toki (130+ SPD) * Kuro Douji (128+ SPD, Low HP) * SSR Orochi (128+ SPD, slower than Kuro) * SP Shuten Doji (130+ SPD) * Onmyoji: Kagura (with Storm)
Execution steps for Floor 10:
- Puller moves first, advancing the team.
- Oitsuki supplies starting orbs.
- SP Shuten Doji knocks back enemy action bars and provides damage mitigation against Higanbana's passive.
- Ushi no Toki places her straw doll on True Orochi.
- Kuro Douji slashes at full passive power, cleaving down Jorougumo and Higanbana.
- SSR Orochi gives Kuro Douji a bonus turn to shred the straw doll and main boss.
- Kagura casts Storm on Kuro Douji for the final sweep.
Floor 1 to 10 Action Checklist
The following checklist summarizes the key tactical instructions for every stage of your solo run.
| Floor | Onmyoji | Team Adjustments | Primary Doll Target | Critical Hazard to Avoid |
|---|---|---|---|---|
| Floor 1 | Seimei | Field Level 1 Reviver | Hitotsume | Must suicide Kuro Douji on Hitotsume reflect; cast Seimei shield |
| Floor 2 | Kagura | Switch to Kagura (Storm) | Hitotsume / Boss | Do NOT target Hannya directly with single-target attacks |
| Floor 3 | Kagura | Standard Kuro Douji setup | True Orochi | Ensure Oitsuki orbs are available for Kagura Storm |
| Floor 4 | Kagura | Standard Kuro Douji setup | True Orochi | Let Sea Sprite absorb initial counter chip damage |
| Floor 5 | Kagura | Standard Kuro Douji setup | True Orochi | Clean sweep with Kuro Douji + Orochi extra turn |
| Floor 6 | Kagura | Standard Kuro Douji setup | True Orochi / Enma | Do NOT target enemy Kuro Douji directly; kill via AoE only |
| Floor 7 | Kagura | Standard Kuro Douji setup | True Orochi | High burst check; verify Sea Sprite shield is active |
| Floor 8 | Kagura | Standard Kuro Douji setup | True Orochi | Watch Shuten Doji burst; maintain 211+ pull priority |
| Floor 9 | Kagura | Standard Kuro Douji setup | True Orochi | Use Orochi skill 2 + Kagura Storm to burst high HP pools |
| Floor 10 | Kagura | Swap slot 6 to SP Shuten Doji | True Orochi | SP Shuten Doji mitigates Higanbana; kill Jorougumo via cleave |
Reviewing this checklist before every stage prevents targeting errors that lead to instant wipes.
Rewards, Achievements, and Drops Analysis
Clearing True Orochi solo unlocks core endgame progression materials and vanity rewards.
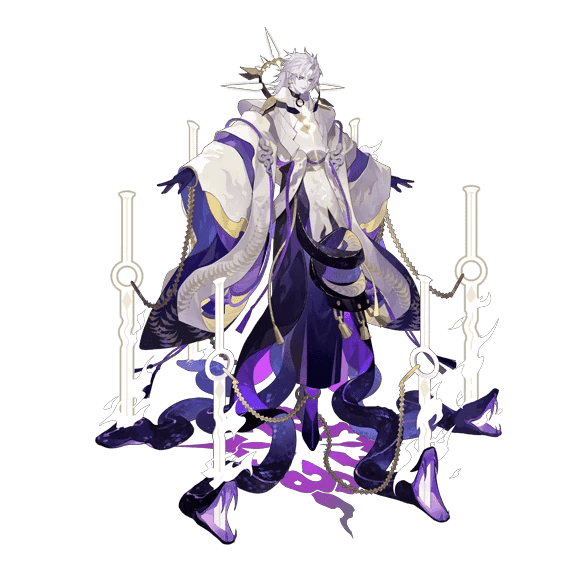
Defeating Stage 10 awards the permanent Orochi Mark III profile achievement. Stages 7 through 10 carry a chance to drop the Snake Sword avatar frame; duplicate frame drops convert automatically into 100 Jade.
| Reward Type | Drop Source | Description & Utility |
|---|---|---|
| Orochi Mark III | Floor 10 Clear | Permanent prestigious achievement mark on player profile |
| Snake Sword Frame | Floors 7, 8, 9, 10 | Rare animated avatar frame; duplicates convert to 100 Jade |
| 6-Star Souls | All Floors (1–10) | High-grade souls across multiple sets for endgame tuning |
| Reverse Scales | All Floors (1–10) | Currency used to exchange for customized slot-specific souls |
| Demon Scales | All Floors (1–10) | Boss soul currency for Odokuro, Namazu, and Songstress souls |
Stage 10 clears provide the highest concentration of Reverse Scales and exclusive cosmetic drops available in weekly PvE.
Preparing high-tier soul sets for PvE and PvP events frequently leads players to obtain S-Jade and Jade bundles to keep roster progression moving.
FAQ
How do you unlock True Orochi in Onmyoji?
True Orochi spawns randomly after clearing Soul Zone Stage 10 (S10). Once discovered, hosting costs 60 stamina per run.
How many times can you run True Orochi for rewards each week?
Players can host True Orochi twice per week for full rewards. Quitting prior to clearing Floor 1 will not consume your host attempt.
What speed benchmark must your team meet for a True Orochi solo clear?
Your primary puller requires 211+ SPD and Oitsuki needs 210+ SPD. Kuro Douji and SSR Orochi both need 128+ SPD, with Kuro Douji acting first.
Why is a Level 1 Oguna or Momo used on Floor 1?
A low-level reviver sacrifices itself after Kuro Douji dies to Hitotsume's damage reflection. Reviving Kuro Douji at critical HP activates his maximum passive attack slashes.
Which Onmyoji characters should you select for a solo clear?
Select Abe no Seimei for Floor 1 to cast his protective shield, then switch to Kagura with Storm for Floors 2 through 10. Kagura grants Kuro Douji an immediate extra action if enemies survive.
What is the key strategy for avoiding a wipe on Floor 10?
Swap in SP Shuten Doji to push back action bars and mitigate incoming damage. Focus down the side Jorougumo mobs with Kuro Douji's doll cleave before clearing Higanbana.
Do soul drop booster buffs work in True Orochi?
No, soul drop boost buffs have no effect in True Orochi. Drop rates for reverse scales, souls, and frames remain fixed.
Final Run Protocol
Consistent True Orochi solo clears depend on speed discipline and target management. Keep your primary puller at 211+ SPD, Oitsuki at 210+ SPD, and tune SSR Orochi directly behind your 100% Crit Kuro Douji.
Never single-target Hannya on Stage 2 or enemy Kuro Douji on Stage 6. Sub in SP Shuten Doji on Floor 10, amplify boss damage with Ushi no Toki's Odokuro doll, and use Kagura's Storm to close out the run. Follow this exact routing to lock in your weekly clears and claim your Orochi Mark III.





Comments